The Patron Portal provides a simple interface for Patrons to create and manage Reservations. In some cases, Patrons may submit Help Desk Tickets (requires Help Desk Module) and sync upcoming Reservations to iCalendar (requires Messaging Module).
Login
To access the Patron Portal, a WebCheckout Patron record must be active and have been granted access to use the Patron Portal.
Enter User-ID and Password and click Login.
Choose Checkout Center
Log into Dashboard with access to a single Checkout Center. With access to multiple Checkout Centers, select Checkout Center.

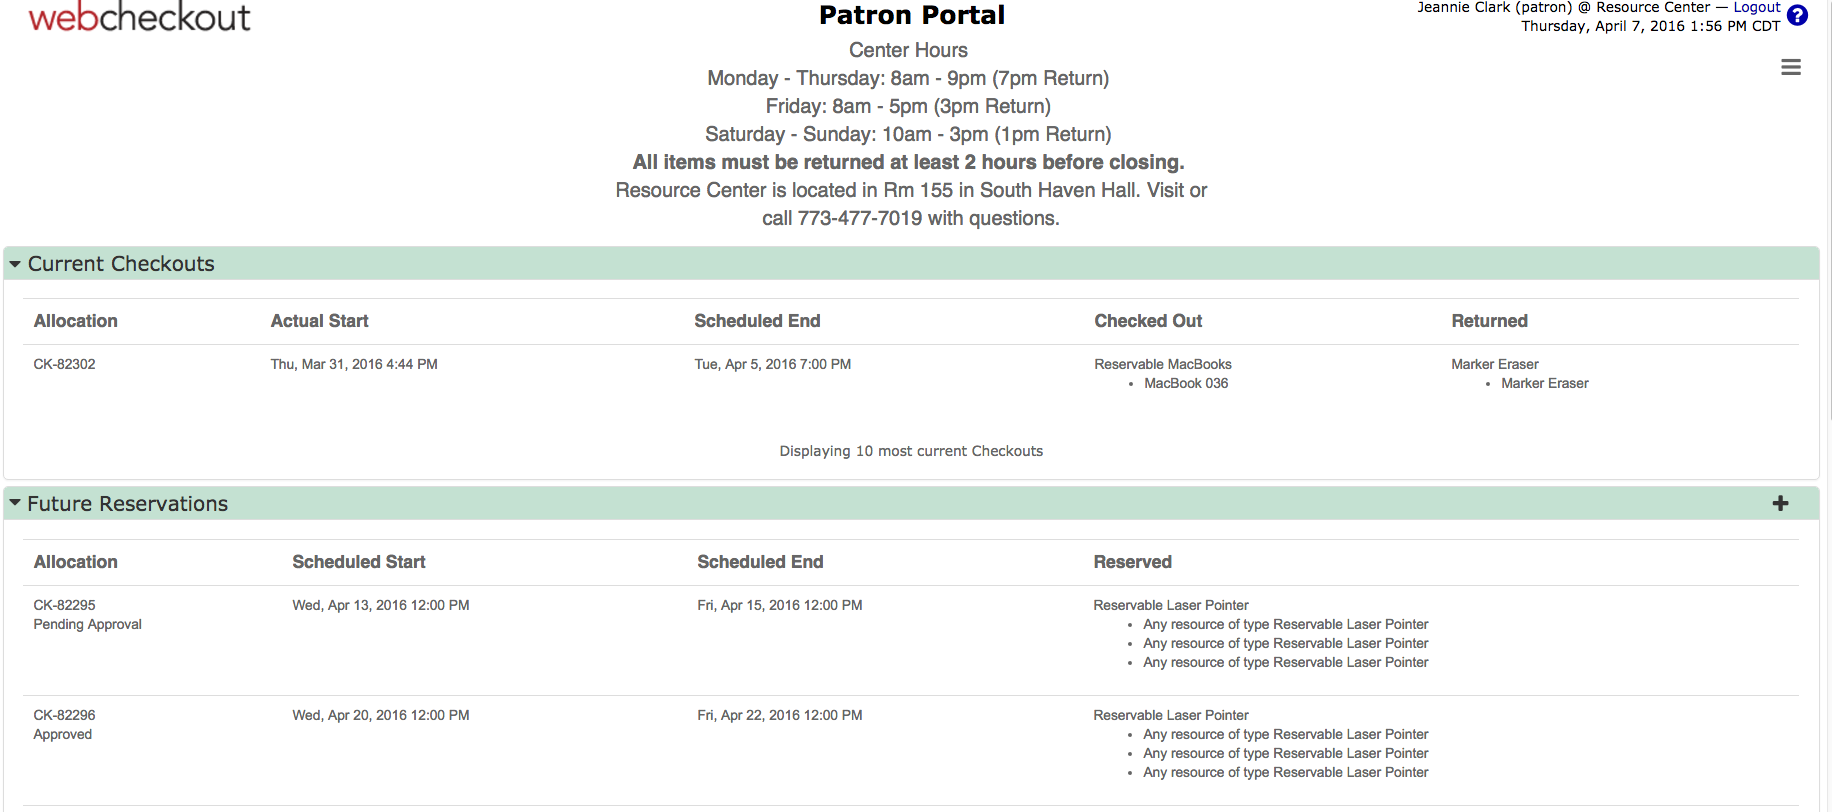
Patron Dashboard
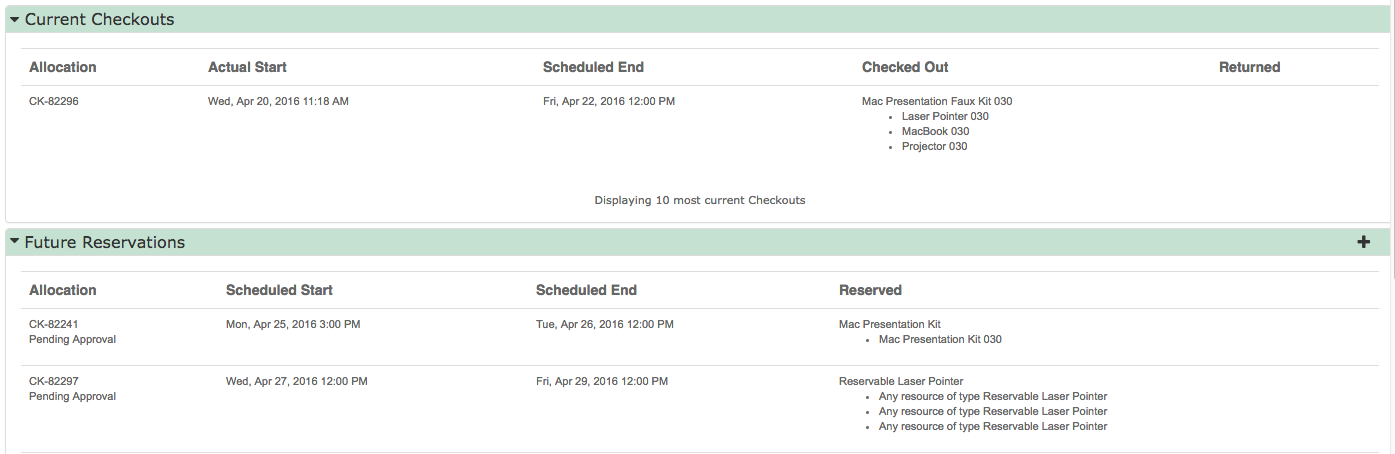
Dashboard includes 10 most current Checkouts; 10 most current future Reservations; and a menu to create New Reservation, *Report a Problem, and *Email Calendar link.
Create New Reservation
 menu icon on the top right or + right of the Future Reservation section to open the New Reservation screen.
  to add specific Resource.
 when notes are added.
  Schedule repeat Reservations on a particular date or day of week within a timeframe. Option may not be available.
  .
.
 . Click icon to view errors. Errors must be corrected to confirm Reservation.
 Once Patron Portal Reservation has been made, the Dashboard will include this Reservation along with its repeat Reservations (when applicable).
Edit Reservation
Reservations can be edited from the Dashboard. Approved Reservations can only be canceled.
To edit Reservation, go to the Dashboard. When in the New Reservation screen, click Cancel or the X at the top right to return to the Dashboard.
Click on the Reservation to prompt the View Reservation window. Select Edit Reservation to open Reservation.
Make changes to the Reservation.
Cancel Reservation
Once a Reservation has been Approved, Edit Reservation is not available. Cancel Reservation is only option.
To cancel Reservation, go to the Dashboard. When in the New Reservation screen, click Cancel or the X at the top right to return to the Dashboard.
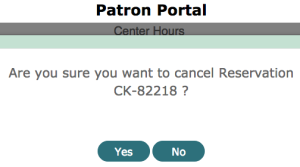
Click on the Reservation to and select Cancel Reservation. Select Yes to affirm cancelation.
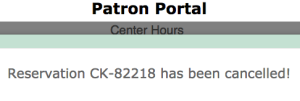
Confirmation of cancelation will appear and Reservation is no longer listed in the Dashboard.
Report a Problem
Select Report a Problem in the menu to submit Help Desk Tickets. Requires the Help Desk Module and the Checkout Center must enable this feature. Ticket Summary and Description are required fields. Patron is the Reporting Patron in WebCheckout.

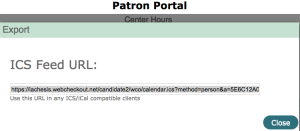
Email Calendar
Select Email Calendar in the menu to access unique ICS Feed URL for viewing Checkouts and future Reservations in an iCalendar. Copy the Calendar URL and add to their iCalendar of choice. Requires the Messaging Module.